I know that these homemade beauty and cleaning product posts aren’t for everyone. But let me tell you that every time I post another recipe, I have a barrage of emails and Facebook comments asking me questions and encouraging me to share more recipes. And I know that I have converted some of you. I’m changing the world one armpit at a time!!
Let me also tell you that I will not post something here unless I have tried it myself. A lot of the natural cleaning or beauty posts that I read share things that the author hasn’t vetted. None of that here. But it takes me a bit to try new things, sometimes failing, but most of the time, winning.
Right now, the ONLY things in my daily routine that aren’t homemade are my toothpaste and mascara. This morning in the shower I used goat milk soap from the folks over at Goat Milk Stuff. If you haven’t heard about them, check this article out. It’s a whole family-run operation over there and Jen and I love their products. I washed my hair with baking soda and apple cider vinegar (I am currently experimenting with what’s called the “No ‘Poo” method. I’ll let you know how that goes), dried off and used homemade lotion, brushed my teeth and followed up with a homemade mouthwash. I also moisturized my face with a homemade face cream and slathered on some homemade deodorant.
Yay, me!
Then we made the trek down to Sea World and tried out my new homemade sunscreen. What I found was that it’s not very water-resistant. So when this happens:


you need to reapply. And by the way, should you ever find yourself at the Shamu show, the “splash zone” is no joke. Yes, my 7 month old got soaked, too. Winners all around.
So today I’ll share with you a few new recipes that I am in love with: lotion, sunscreen, mouthwash, and hand-sanitizer. We will also be adding them to the “Footloose and Chemical Free” drop-down menu for easy access in the future.
If you have any questions about any of this stuff, feel free to email us and we’ll answer your questions the best we can. But I love this, you guys. I can’t say that for sure it will keep me and my kids cancer-free forever, but it can’t hurt, and I’m saving crazy money in the process. Boom baby.
Homemade, All-Natural Lotion via wellnessmama.com
½ cup sweet almond or olive oil
¼ cup coconut oil
¼ cup beeswax
Optional: 1 tsp Vitamin E oil
Optional: 2 Tbsp Shea Butter or Cocoa Butter
Optional: Essential Oils or Vanilla Extract
Directions:
- Combine all ingredients except essential oils in a pint sized glass jar. I decided to use a canning jar that I have designated just for making lotions. You could also re-use tomato sauce jars, pickle jars, olive jars… be creative!
- Fill a medium saucepan with a couple inches of water and place over medium flame.
- Place glass jar in pan.
- As the water heats up, the ingredients in the jar will begin to melt. Stir or swirl occasionally to incorporate. Be careful, the jar will get hot, too!
- When all ingredients are completely melted, add essential oils a few drops at a time until you are satisfied with the scent. Then, simply pour the liquid into whatever glass jar you will use to store it. Small, wide-mouthed mason jars are great for this. As it solidifies, it will not pump in a lotion pump.
- Use as you would regular lotion. It has a shelf life of about 6 months. This lotion is wonderfully luxurious and a little goes a long way. Enjoy!
Note: This is more the consistency of a thick body butter. I have read that if you take out some of the beeswax, it will soften up a bit. I think I’ll try that next time and see how the consistency comes out.
All-natural sunscreen via wellnessmama.com
½ cup sweet almond or olive oil
¼ cup coconut oil
¼ cup beeswax
2 Tbsp Zinc Oxide (this is a non-nano version that won’t be absorbed into the skin. Be very careful not to inhale the powder. Wear a mask if necessary. 2 Tbsp will make the sunscreen 20 SPF. More can be added.)
Optional: 1 tsp Vitamin E oil
Optional: 2 Tbsp Shea Butter or Cocoa Butter
Optional: Essential Oils or Vanilla Extract
Directions:
- Combine all ingredients except essential oils in a pint sized glass jar. I decided to use a canning jar that I have designated just for making lotions. You could also re-use tomato sauce jars, pickle jars, olive jars… be creative!
- Fill a medium saucepan with a couple inches of water and place over medium flame.
- Place glass jar in pan.
- As the water heats up, the ingredients in the jar will begin to melt. Stir or swirl occasionally to incorporate. Be careful, the jar will get hot, too!
- When all ingredients are completely melted, add essential oils a few drops at a time until you are satisfied with the scent.
- Add Zinc Oxide and stir well. Then, simply pour the liquid into whatever glass jar you will use to store it. Small, wide-mouthed mason jars are great for this. Stir a few times as the lotion cools to ensure the Zinc Oxide is mixed throughout. As it solidifies, it will not pump in a lotion pump.
- Use as you would regular lotion. It has a shelf life of about 6 months. This lotion is wonderfully luxurious and a little goes a long way. Enjoy!
Note: This sunscreen is somewhat, but not completely, waterproof. Reapply after swimming or excessive sweating.
Homemade Mouthwash via wellnessmama.com
Ingredients:
8 ounces of rum or vodka (for tincture)
1 tsp dried cloves or clove powder
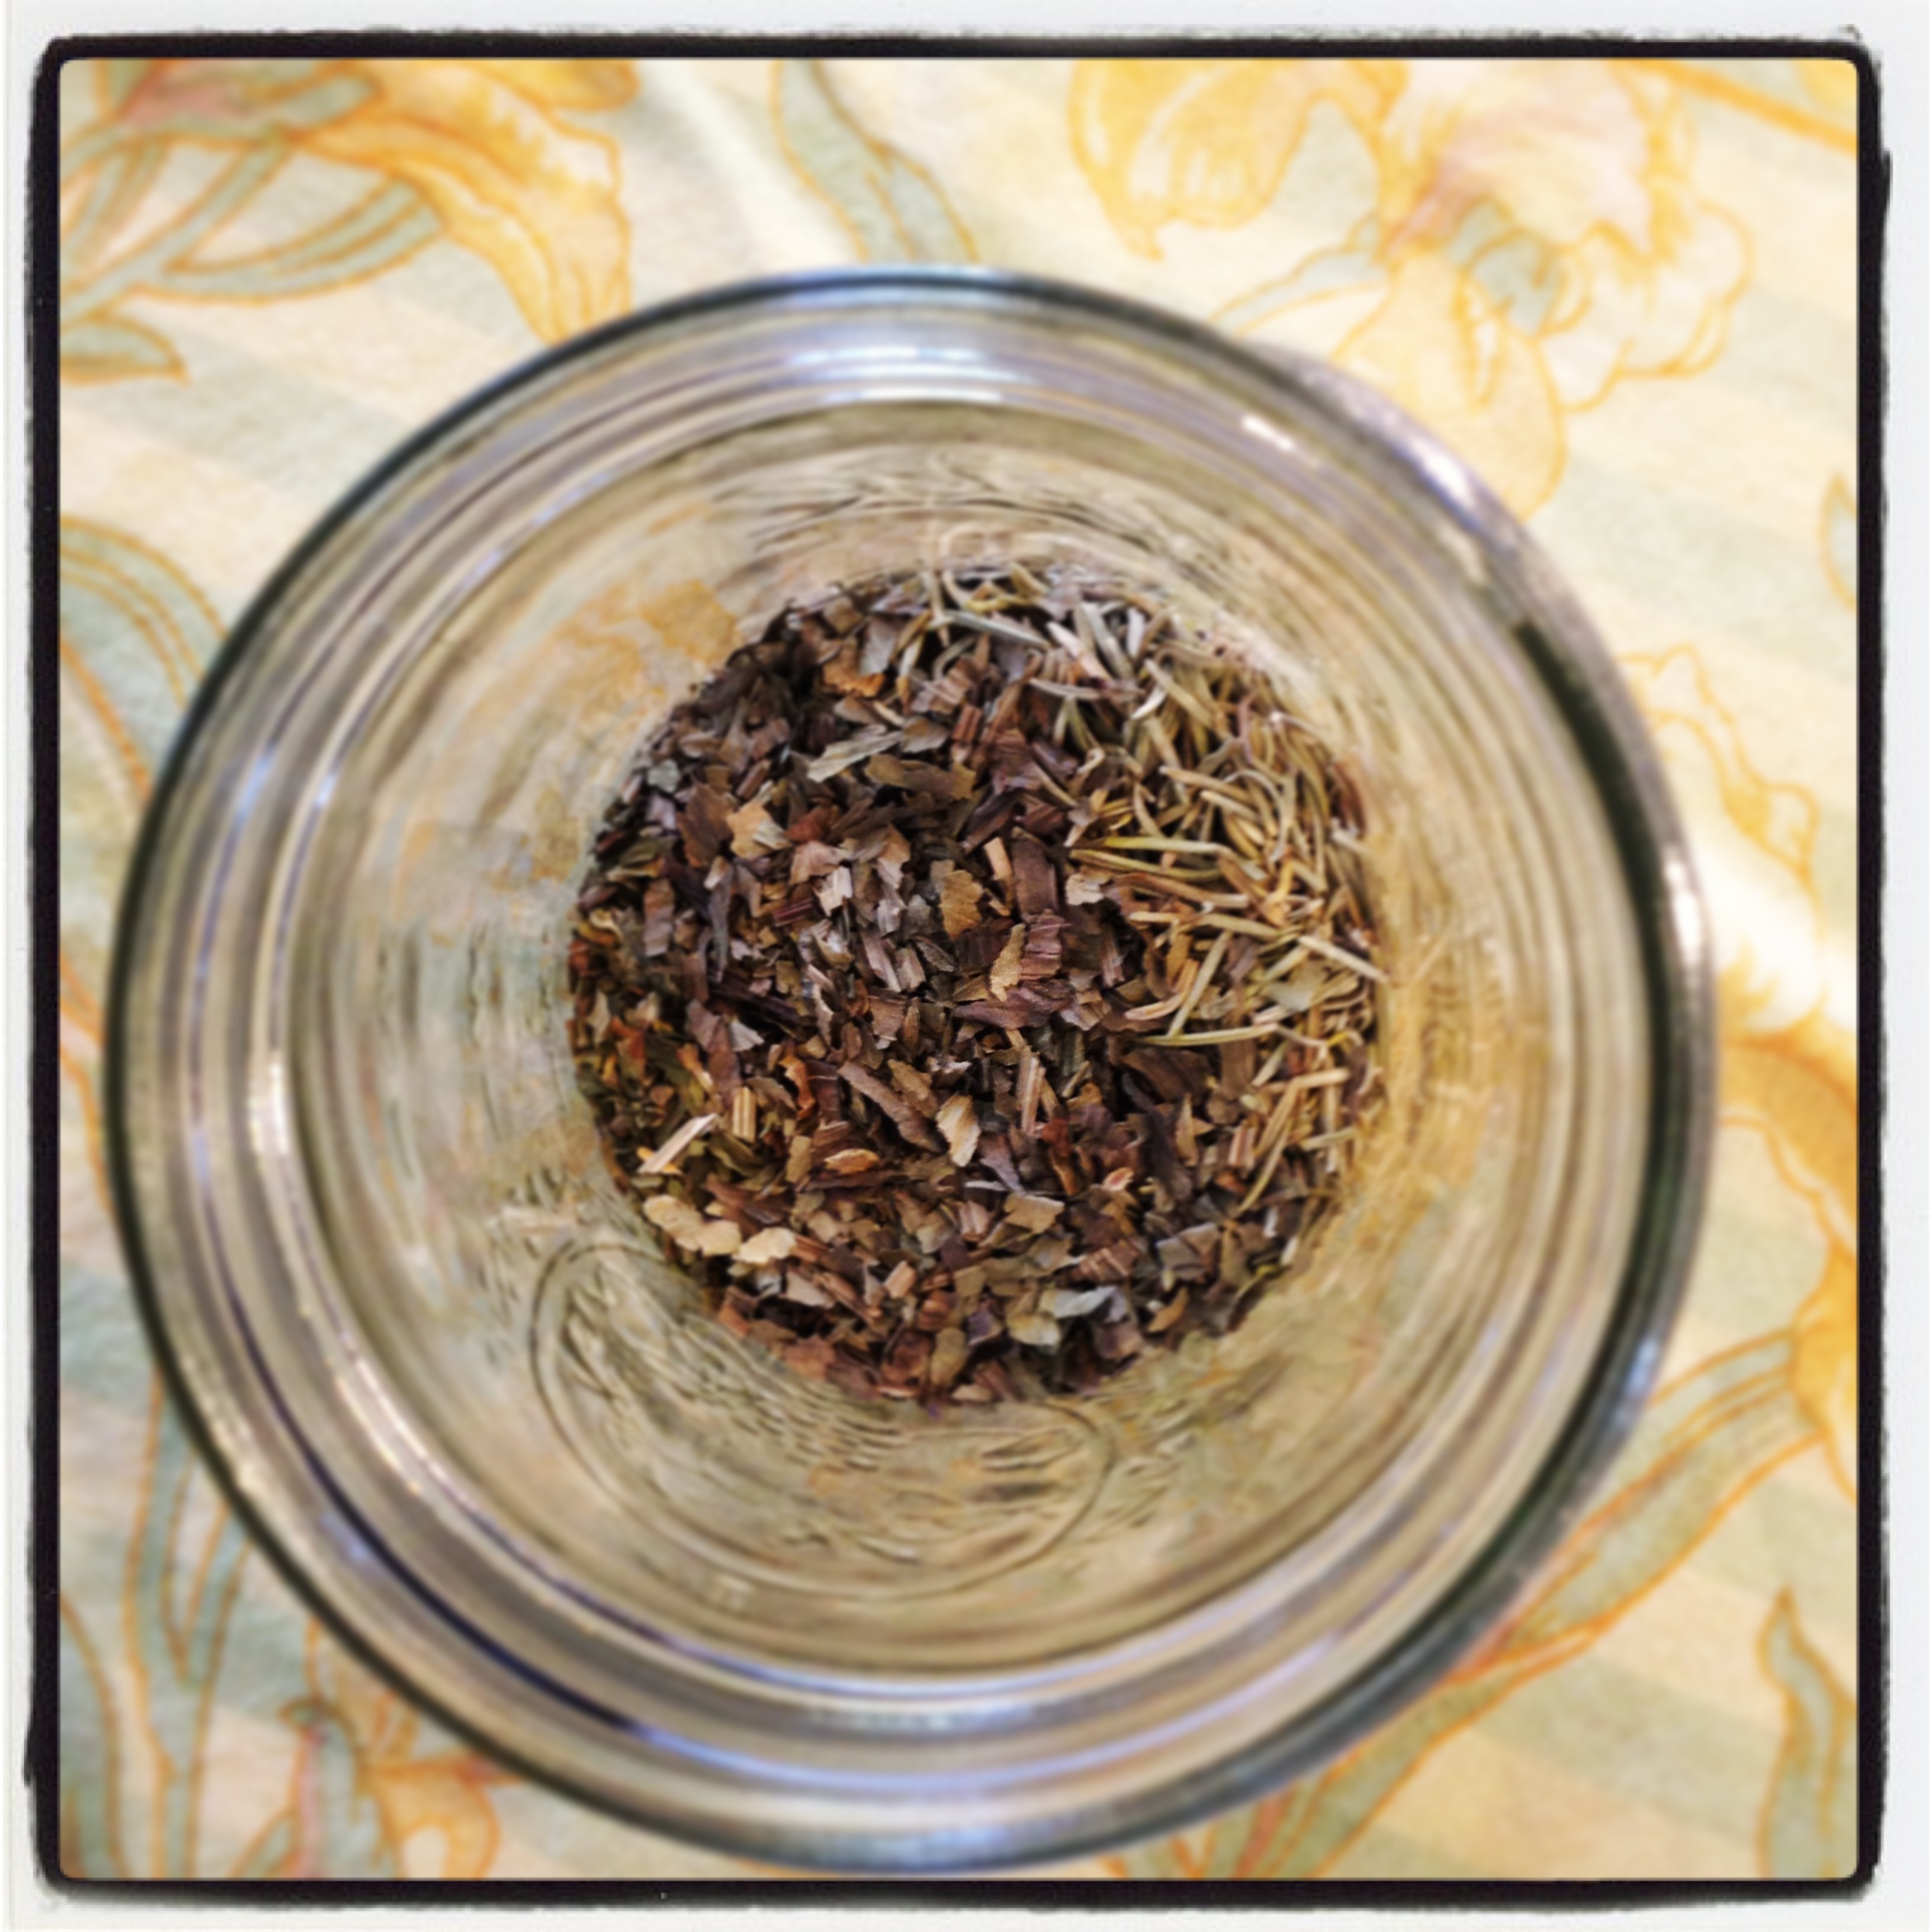
2 tablespoons dried Peppermint Leaf
2 tablespoons dried Plantain Leaf
1 Tablespoon Rosemary Leaf
15 drops of Cinnamon or Peppermint Essential Oil (or more to preference-optional)
Directions:
Place herbs in a pint size mason jar.
Pour enough boiling water over herbs to just dampen all of them. (This helps release the properties of the herbs).
Pour the rum or vodka into the jar with the herbs and hot water.
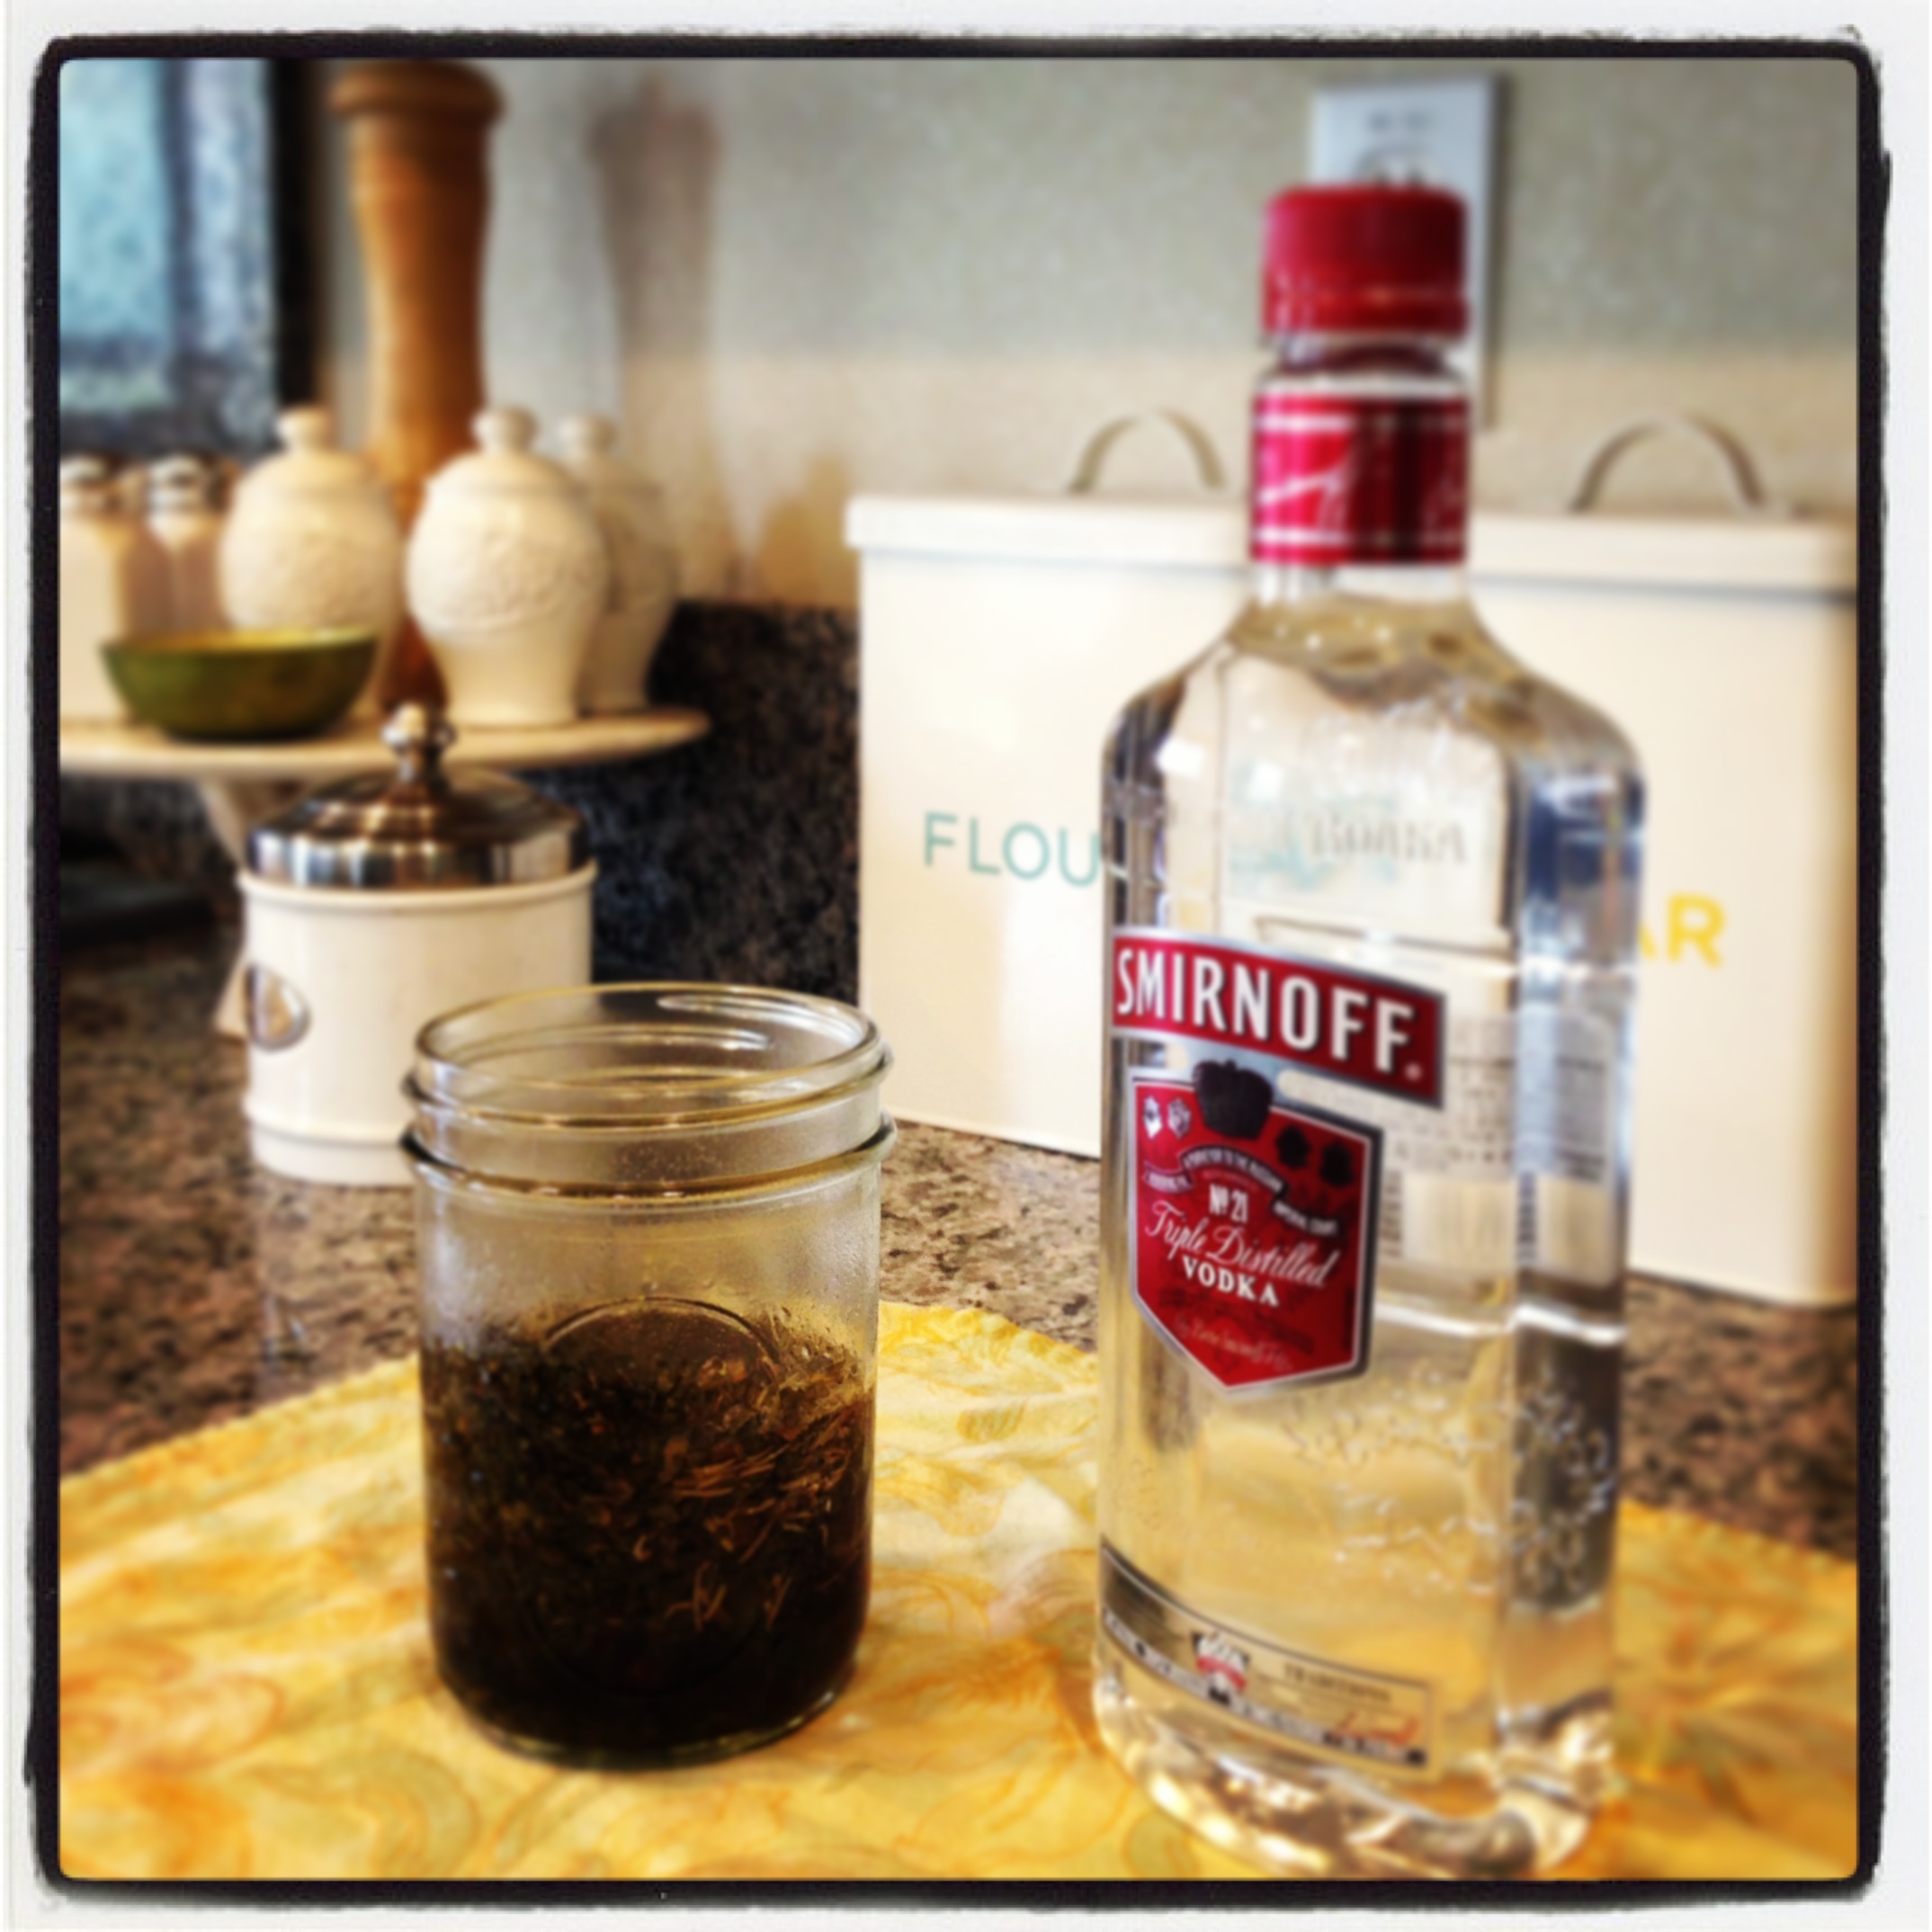
Cover tightly and put in a cool dark place for 2-3 weeks. Each day, shake the jar to help the herbs infuse into the alcohol mixture.

After 2-3 weeks, use cheesecloth or a very fine mesh strainer to strain the herbs out of the tincture. Discard the herbs and pour the tincture into small dropper bottles or other glass jar to store.
Add the essential oils, return lid and shake well.
To Use Mouthwash:
Keep glass bottle with herbal tincture on bathroom counter with a small cup or glass.
For each use, mix a mouthful of water with about 40 drops of the tincture and swish well for 30 seconds.
For extra cleansing, add 40 drops of the tincture to a half and half mixture of hydrogen peroxide and water instead of plain water and swish for 30 seconds.
All-Natural Hand Sanitizer via The Prairie Homestead
Ingredients:
4oz. glass spray bottle (essential oils will break down the plastic ones)
Water
2 tsp aloe vera gel (get pure aloe gel, not the green colored stuff)
8-10 drops of vitamin E oil (I bought little plastic pipettes, but you could use and old medicine dropper, too.)
30 drops total of the following essential oil combination: Lemon, lime, tea tree, and lavender (all of which I bought at Clark’s Nutritional, but could be found online as well.)
Directions:
Fill bottle half-full with water. Add aloe vera gel, vitamin E oil, and essential oils. Top off with water and shake well.
– Note: Lemon, lime, and tea tree oils are very antibacterial, as well as antiviral. The lavender also has some of these properties, but it’s mostly added to make the mixture smell pretty.


