Ice-y Creamy Ice Cream

The first time I made ice cream from scratch was thirty years ago. It was with one of those old fashioned salt crank makers and when I tasted the fruit of our (what felt like five hours) labor, I had one thought: Not worth it.

Then five years ago I was flipping through a Williams Sonoma catalog when it came to my attention that ice cream makers had moved into the 21st century. There on the page was the most darling Cuisinart blue ice cream maker. It arrived in time for Mother’s Day and I’ve been making my own ice cream ever since.

Yeah, right.

First, we try not to keep dessert in the house. Ever. Because I’ll eat it.

Secondly, we’re more of a baked goods kind of family.

Thirdly, it’s not in mine or Shea’s family of origin to have cake AND ice cream. It was always one or the other.

But I do tend to make ice cream in June and July, as an alternative way to scratch my baking itch when it’s too hot to turn on the oven. I use the basic recipe, no custard making required, and in 20 minutes I can serve up homemade, creamy, safe (if not healthy, lol) and organic dessert.

All it takes is milk (I use fat free), heavy whipping cream, sugar and vanilla. My ice cream maker has a center cylinder insert that I store in the freezer at all times. Pop it in the maker, pour in the base and turn it on—that’s all it takes.

I have tried to make lower fat and sugar versions using just milk and no cream. No bueno. What comes out is the consistency of slushy milk which then freezes into a giant ice cube. So I stick to the heavy cream. I halve the sugar if I am adding fruit—we barely notice that it’s less sweet because of the richness of the cream and the vanilla flavor. And we actually eat the correct serving size—half cup—because since it tastes the way it’s supposed to, you don’t need as much to make your sweet tooth happy.

Recipe (courtesy Cuisinart)

1 cup milk

3/4 cup sugar

2 cups heavy whipping cream

1 teaspoon vanilla (for vanilla flavored ice cream) AND/OR

1 cup macerated, mashed fruit of your choice AND/OR

chocolate chips

Really, once you have the base, you can do whatever you want to it.

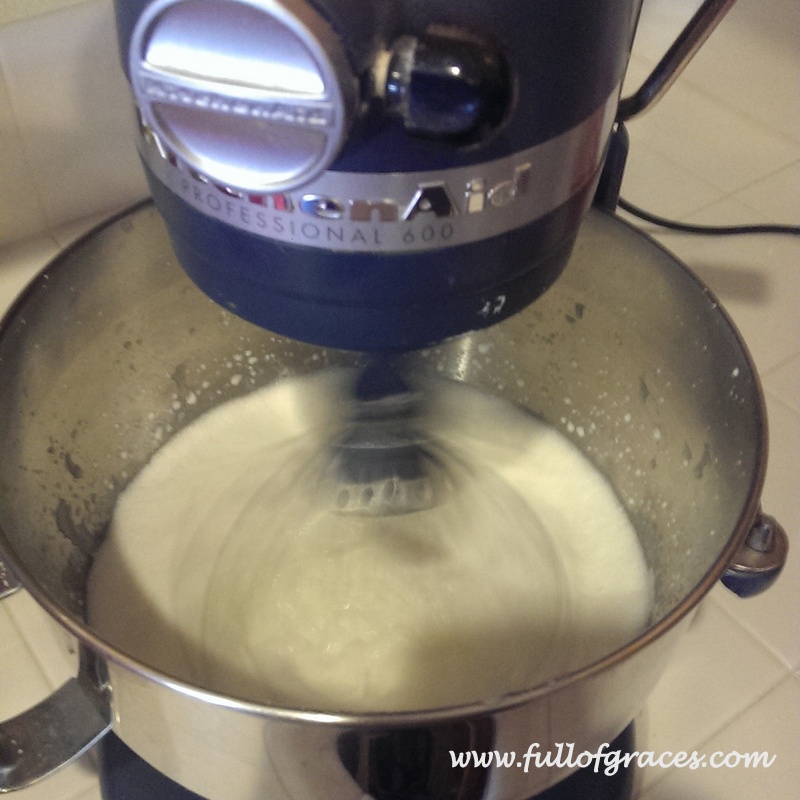
Whisk milk and sugar until sugar dissolves. Add cream and vanilla. Whisk until mixture becomes nice and frothy. Refrigerate for two hours. Then pour the base into the maker and process for 20-25 minutes. Add any other ingredients in the last five minutes.

Whisking the base. I like to get some air in there. I think it makes the ice cream creamier.

Logistics:

There are ice cream makers out there that cost $300, but I don’t know why. The Cuisinart costs $60, and I also found a Hamilton Beach option at Target for under $30. That’s roughly the same as six half gallons of regular ice cream.

Pour it all in and turn it on. Easy!

I have learned not to store the leftovers in the cylinder or Tupperware.  A glass bowl with an airtight lid keeps the ice cream from getting too hard or crystallizing.

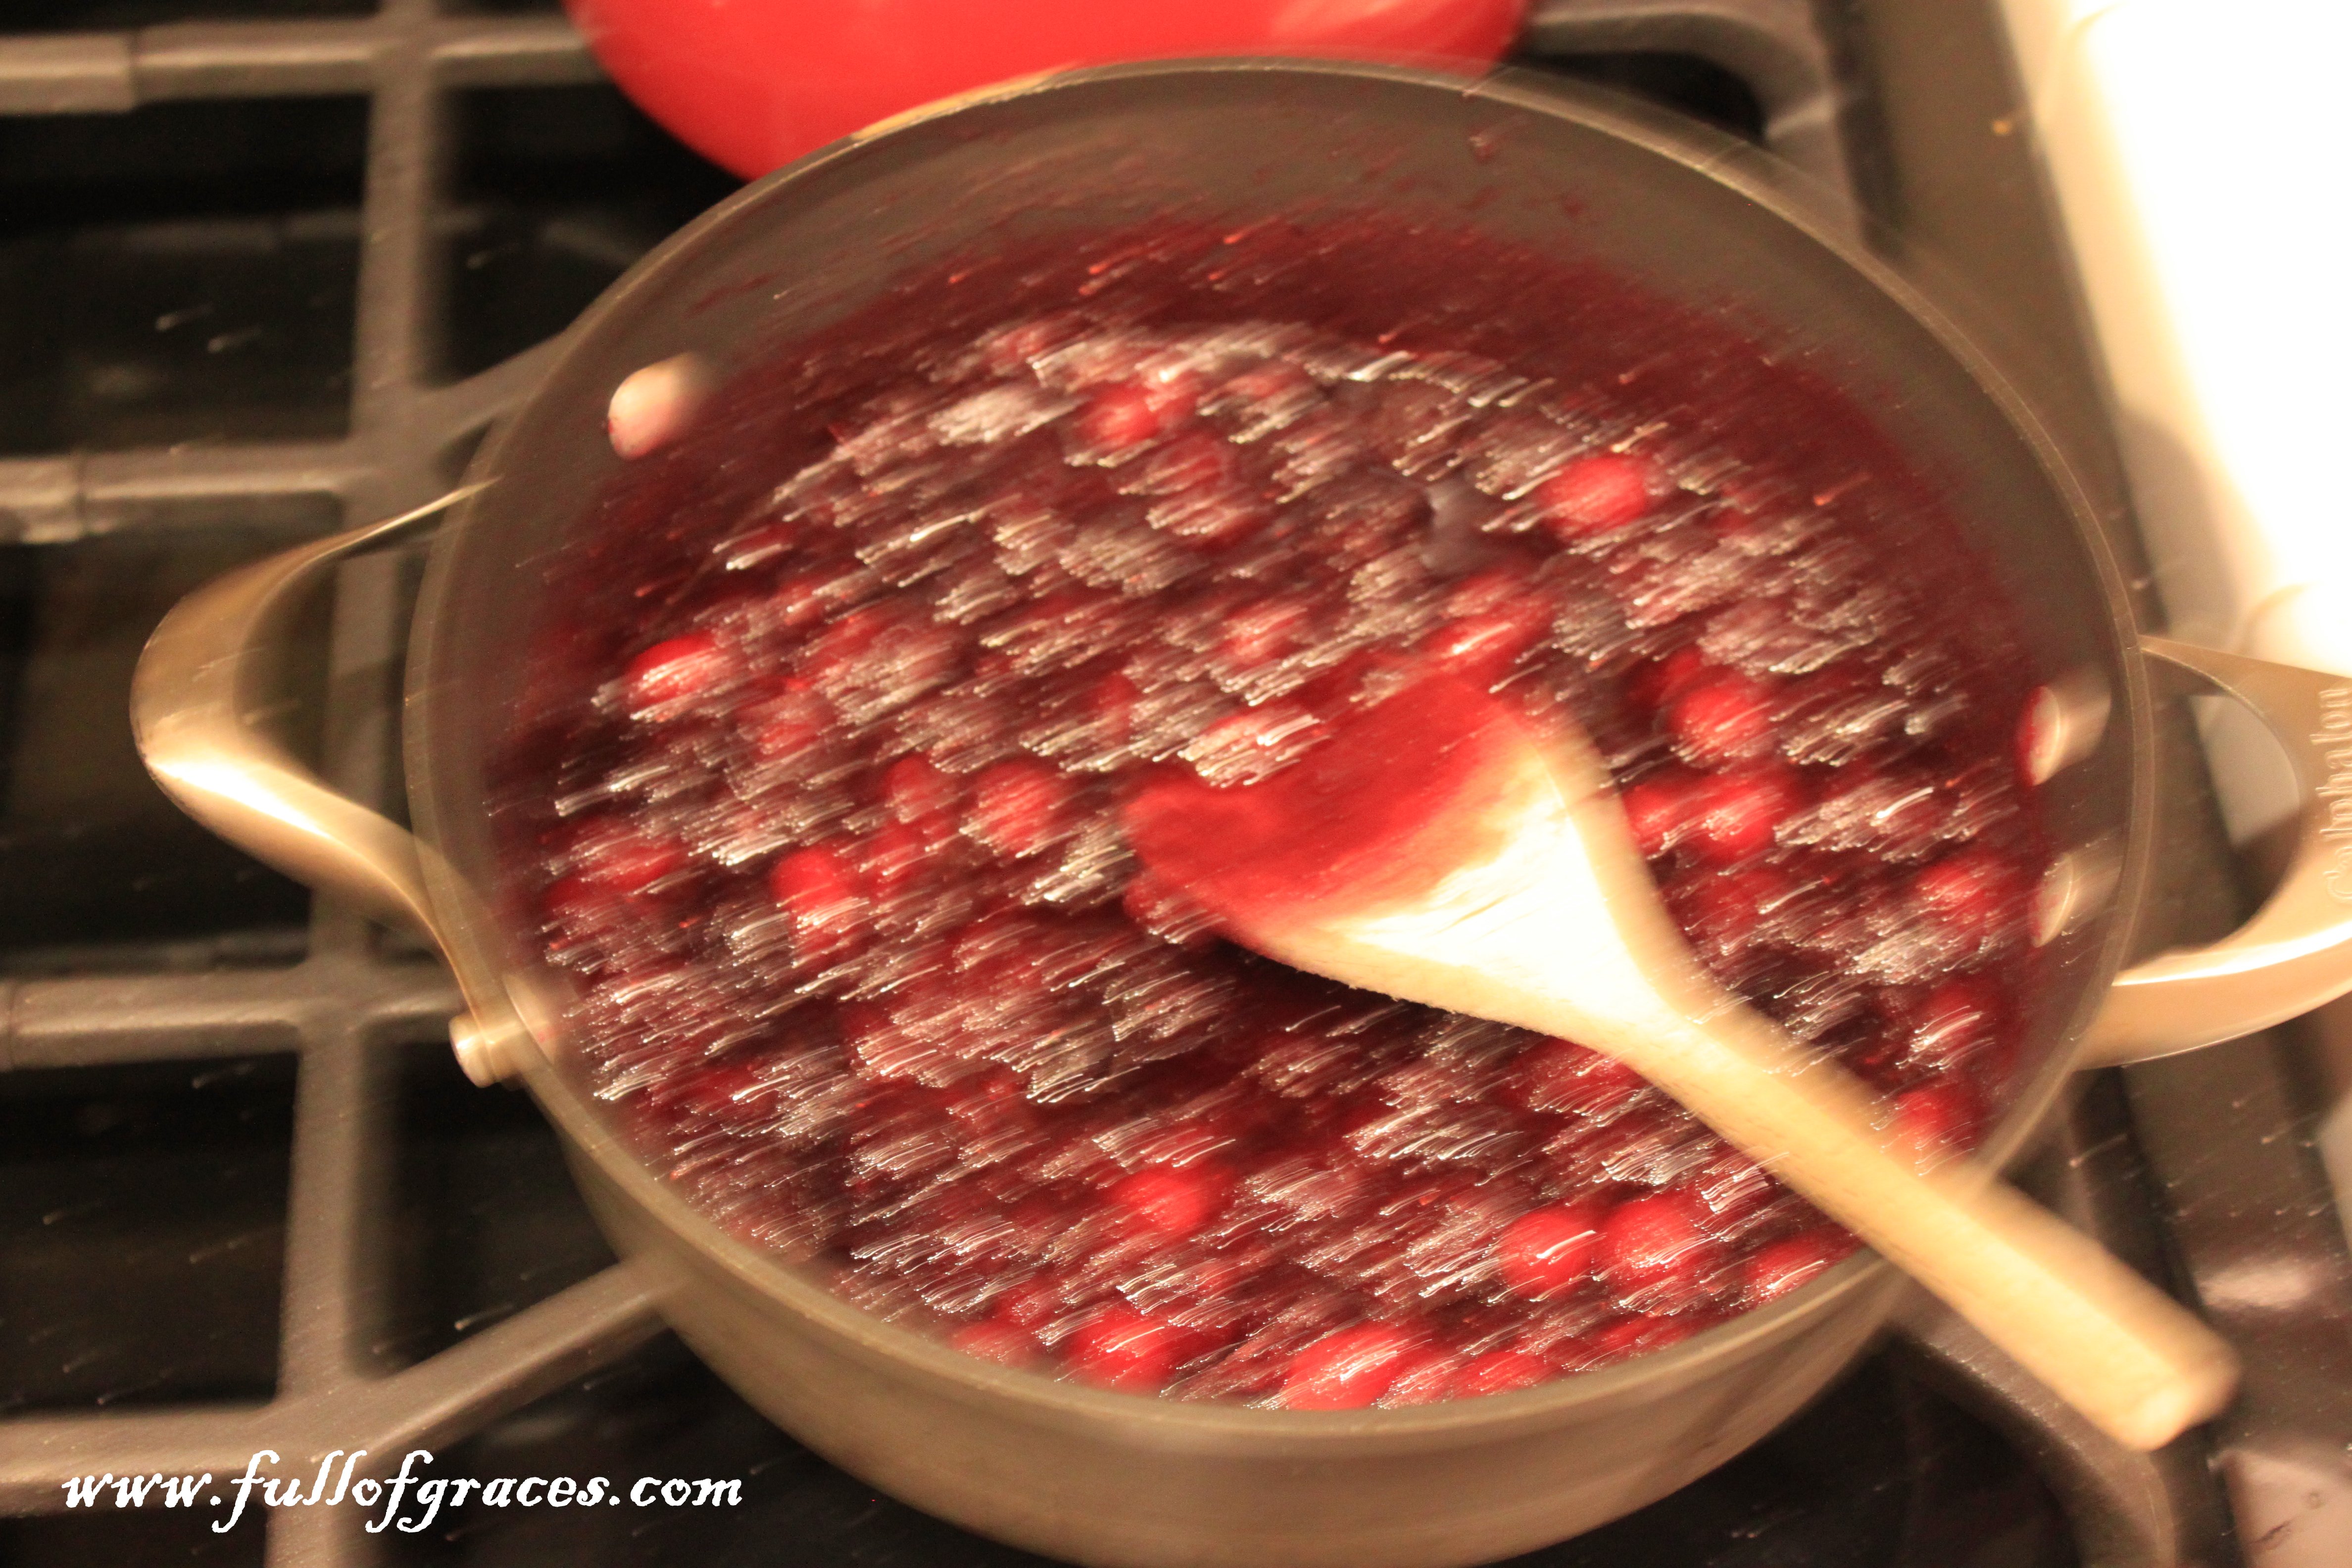
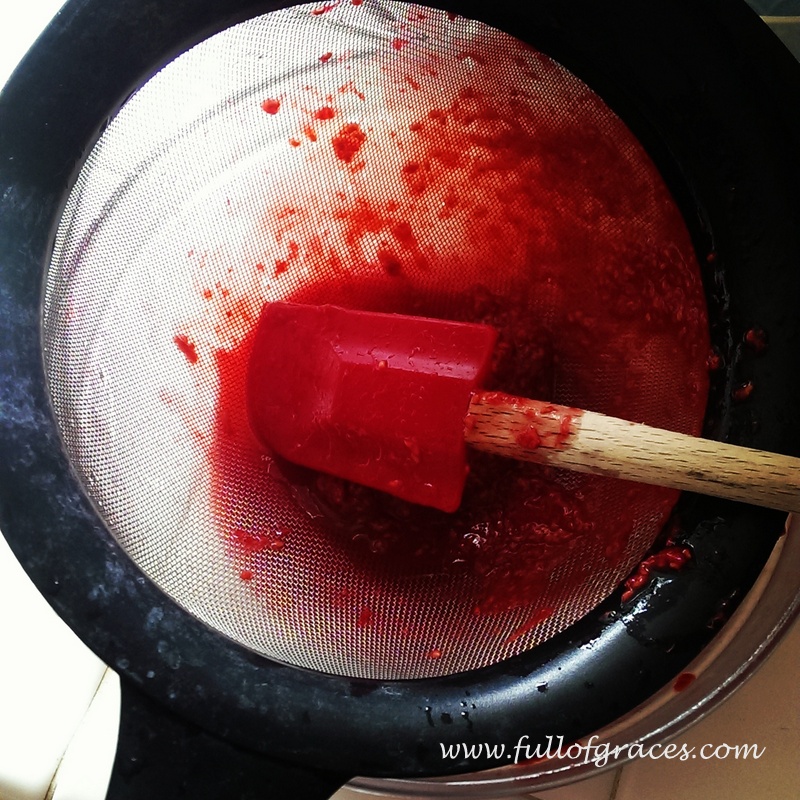
If I’m adding fruit, I chop it, macerate it, mash it and then throw it in the last five minutes. If the chunks are too big, they get caught in the stirring thingy, causing the ice cream to back up and overflow.

My macerated, mashed and strained raspberries.

There are lots of ice cream recipes out there, including in the booklet that comes with the machine. But some of them require a custard, and I’m not having that. The easy recipe is just fine.

And when I want to be crazy, I suffer the heat, bake up a batch of chocolate chip cookies and make my own ice cream sandwiches. I plop a scoop of newly made ice cream on completely cooled cookies, wrap it all in plastic wrap and pop it in the freezer. Two hours later, yummy summer goodness.

Kitchen Rules: If you help, you get to lick!

Enjoy!


Eggplant Parmigiana ~ Dana

Jen’s husband, Shea, makes a killer eggplant parm. Sadly, this is not that recipe. But in my quest to find a good one, I hit up my fantasy best friend, Martha Stewart. I’m not sure out of which issue of Martha Stewart Living I tore this, but it’s absolutely delicious. I posted pictures of it on Facebook a few months ago and several of you asked for the recipe, so far be it from me to deny the people what they want.

There’s a bit of prep involved in breading and frying the eggplant. In fact, I won’t make it during the week when my husband isn’t at home to wrangle the girls while I cook. But if you’ve got some time on a Sunday afternoon, it’ll be worth it for Sunday night dinner!

3543_10202577048404006_1352030903_n

Eggplant Parmigiana

Grease sometimes gives this dish a bad rap. The trick is to fry the breaded eggplant quickly over high heat, so it doesn’t absorb too much oil. Then drain on paper towels to remove any excess. Thanks, Martha!

For Breading and Frying

2 cups fine plain fresh breadcrumbs
½ cup finely grated Romano or Parmesan cheese (1 ounce)
Coarse salt and freshly ground pepper
1 cup all-purpose flour
4 large eggs, lightly beaten
2 large eggplants, sliced into ¼-inch-thick rounds
¼ cup vegetable oil, plus more if needed

For Assembling

Marinara Sauce (recipe to follow)
3 cups coarsely grated mozzarella cheese (12 ounces)
¾ cup finely grated Romano or Parmesan cheese (1½ ounces)

1. Bread and fry the eggplant: Combine breadcrumbs, Romano cheese, ½ tsp. salt, and some pepper. Put flour, eggs, and breadcrumb mixture in 3 separate dishes. Dredge eggplant in flour, shaking off excess. Dip in egg, letting excess drip off. Dredge in breadcrumbs to coat. Let stand for 30 minutes.

2. Heat oil in large, straight-sided skillet over medium-high heat. (Oil is ready when a breadcrumb sizzles when dropped in.) Working in batches, fry eggplant until golden, about 2 minutes per side. Transfer to a paper-towel-lined baking sheet. (If oil gets too dirty, discard, and heat an additional ¼ cup.)

3. Assemble the dish: Preheat oven to 375 degrees. Spread ½ cup marinara sauce in the bottom of a 9-by-13-inch baking dish. Arrange a layer of eggplant on top, overlapping slightly. Top with 1 cup sauce. Sprinkle with 1 cup mozzarella and ¼ cup Romano. Repeat twice to form layers with eggplant, sauce, then cheeses. Cover with foil. Bake until bubbling, about 30 minutes. Uncover, and bake until cheese melts, about 5 minutes more.

Marinara Sauce

3 Tbsp extra-virgin olive oil
1 medium onion, chopped
4 garlic cloves, thinly sliced
2 cans (28 ounces each) peeled whole tomatoes, pureed in a food processor
½ tsp crushed red pepper flakes
¼ cup fresh basil leaves, torn
1 Tbsp chopped fresh oregano

Heat oil in a large heavy pot over medium heat. Cook onion and garlic until soft and translucent, about 8 minutes. Add tomatoes, red pepper flakes, 1 tsp salt, and some pepper. Simmer, covered, until thick, about 25 minutes. Stir in herbs.

My notes:

1. If you don’t want to make your own marinara, you can totally use your favorite jarred sauce. You need about 3 ½ cups.  But I will say that this one is delicious and makes your house smell really, really good while it’s bubbling away.

2. You can also use store-bought breadcrumbs and dried herbs, if you don’t have fresh readily available. Use 2 Tbsp dried basil and 1 tsp dried oregano and add to the sauce along with the tomatoes to give them a chance to reconstitute.

3. Seriously, if you have a one and a three-year-old, don’t do this alone!! Breading those eggplant slices leaves your fingers so goopy and gross. And then what if your one-year-old sticks an Easter jellybean up her nose? I’m just looking out for you.

Not Your Mama’s Sauce ~ Jen

Cooking while drinking = blurry pictures...
Cooking while drinking = blurry pictures…

Fires, Family, Football and Food! We love Thanksgiving here at Full of Graces

We’re coming at you lots this week: Cranberries today, swiss beans tomorrow and spicy pumpkin pie on Wednesday. 

When I decided that I could be a scratch cooking diva in the kitchen, cranberries were my first throw down.

“How hard can it be?” I asked my cousin over a bottle of wine the night before Thanksgiving, 1998.

Well, you can buy a can of cranberry sauce—or worse, that jelly stuff—that may have been fresh six months ago. Or you can buy a bag of cranberries, throw them in a pot with a cup of water and a cup of sugar and cook for ten minutes. Viola! Cranberry sauce.

That’s all it takes. To make it more exciting, I recommend you ask someone in the house if they want to taste a raw cranberry. Those shiny red berries are hard to resist. My cousin is still mad about that one.

Since then, I found two go-to cranberry sauce recipes. I make one or both every year, whether we do turkey or ham. And it turns out that cranberries are super healthy and cancer fighting. Bonus!

The first is a cranberry apricot sauce to serve as a side dish:

California Apricot Cranberry Sauce

½ cup dried apricot halves, cut into strips

¾ cup cranberry juice cocktail

1 12 oz bag fresh cranberries

2/3 cup sugar

1 tbsp minced ginger (use fresh for a strong taste, dried for a lighter taste)

Soak apricots in cranberry juice in a saucepan for ten minutes to soften. Add cranberries, sugar and ginger. Bring to a boil over high heat. Reduce to medium and cook uncovered for ten minutes until cranberries pop and sauce thickens.

Cover and refrigerate until well-chilled, about 3 hours.

The second is an orange cranberry Dijon mustard to serve as a relish. This is unbelievable on a slice of ham or a turkey leftover sandwich:

Cranberry Mustard

12 oz bag fresh cranberries

½ cup sugar

½ cup water

½ cup orange juice

2 tsp grated orange zest

¼ cup Dijon mustard

2 tbsp unsalted butter

Place cranberries, sugar, water, orange juice and zest in saucepan. Bring to a boil over high heat and then reduce heat to medium low. Cook until berries pop and sauce thickens.

Remove from heat. Stir in mustard and butter. Cool and serve.

You could even make these tonight or tomorrow and put them in the fridge. They keep!

Welcome Autumn! ~ Dana

photo-59

Well, it’s official.  Autumn is finally here!  And no, I don’t mean just the arrival of the Pumpkin Spice Latte at Starbucks (although that is quickly becoming one of my favorite things of autumn!).

I’ve always loved autumn, and when I moved to Austria, I fell in love with it even more.  The changing of the seasons is visible everywhere there. The local restaurants begin to change their menus to represent the seasonal fare.  My favorite restaurant in our town had something called Wild Woche or Wild Week in which they slow-roasted venison, wild boar, wild hare, all of which had been caught in our forest, and served them up in wonderful, hearty sauces, with earthy root vegetables, all meant to fatten the townspeople up, steeling us against the harsh winter that was sure to come.

But more than the beautiful colors, the comfort food, the inviting scents, there’s just something different in the air once autumn comes.  I’ve always felt it, that magic electricity.  It’s like in Mary Poppins when Burt sings “Winds in the East, mist comin’ in, like somethin’ is brewin’, about to begin!”

This past Sunday was the Autumnal Equinox, a time of equal light and equal darkness.  The balance has tipped and we descend into darkness.  This happens not only literally as the nights are now longer than the days, but for many people, it happens in a spiritual sense as well.

The bright warm days of summer, which beckon us outdoors to the beach, the mountains, or even just the backyard, are over.  As the temperatures cool, we turn our focus inside, many of us decorating for fall and burning pumpkin-scented candles.  Our tendency, when things get dark, it to turn on more light, to fill our already busy schedules with even more things.

But I invite you this autumn to take some time in the darkness, to sit quietly with your soul and take stock of what you have done this year.  How have you grown?  What seeds did you sow in the spring and tend in the summer that are now coming to harvest?  How can you prepare yourself for the craziness that the holiday season can bring on?

Pull out your favorite snuggly sweater or blanket.  Get some pumpkins to put on your front porch.  Put some gourds on your mantle.  Make some of your favorite comfort foods.  And if you want a new favorite fall recipe, I’m sharing my very best one with you, A Kitchen Witch’s Pumpkin Spice Bread.  And have a glorious autumn, everyone!

A Kitchen Witch’s Pumpkin Spice Bread

Ingredients:

2 cups pureed pumpkin (fresh roasted or canned)

3 cups sugar

1 cup water

1 cup vegetable oil

4 eggs

3 1/3 cups flour

2 teaspoons baking soda

2 teaspoons cinnamon

1 teaspoon salt

1 teaspoon baking powder

½ teaspoon nutmeg

¾ teaspoon ground cloves

Instructions:

Heat oven to 350 degrees F.  In a large mixing bowl, combine pumpkin, sugar, water, vegetable oil, and eggs.  Beat until well mixed.  Measure flour, baking soda, cinnamon, salt, baking powder, nutmeg, and ground cloves into a separate bowl, and stir until combined.  Slowly add the dry ingredients to the pumpkin mixture, beating until smooth.

Grease two 9×5 inch loaf pans and dust with flour.  Evenly divide the batter between the two pans.  Bake for 60-70 minutes, or until a toothpick inserted into the center comes out clean.  Cool 10-15 minutes then remove from pans by inverting them onto a rack and tapping the bottoms.  Slice and serve plain, buttered, or with cream cheese.

Roast a Chicken…Don’t be Scared!

We used to be scared of roasting a whole chicken. And not just because of the  raw chicken thing. It seemed too much like roasting a turkey, and that’s a big dang deal.

But then we noticed that whole chickens are often on sale for less than $5 each. That was too good a deal to pass up for dinner and leftovers.

And then we found a really simple recipe in a Rebecca Katz’s cancer fighting cookbook called Chicken Roasted All the Way to Yum. And it is. Simple and easy and yum. Of course, we adapted it a bit. If you want her original recipe, go here.

Otherwise, you need just a few things: a roasting dish (we use a 9×13 pyrex baking dish); an orange; a lemon; salt, pepper and rosemary. And a whole chicken.

Take a deep breath, because you are about to be elbow deep inside that chicken.

Preheat oven to 350 degrees.

Drain the chicken and remove the innards. This is important. We predict you will only ever forget once.

Place the chicken in the pan—legs facing up!!!

Mix a teaspoon of salt and a teaspoon of pepper in a small bowl; grab half and rub in the cavity of the chicken. Sprinkle the rest over the top.

Cut the lemon and orange. Squeeze the juice over the top of the chicken and stuff the rest inside the chicken.

Sprinkle chicken with whole dried rosemary.

Cook for 90 minutes, or until a meat thermometer stuck deep in the breast says the meat is done.

Carve and serve. There will be enough drippings for gravy (but that kind of defeats the purpose of healthy chicken…).

If you are really industrious, you can save the carcass and make Rebecca’s Magic Mineral Broth (just add the chicken carcass along with everything else), and then freeze and use for all your soups this Fall!

Jen cooked one of these Tuesday and forgot to take pictures. So instead, here’s a picture of what your plates will look like if you make this chicken.

IMG_20130822_124828

Yep, it’s that good.

Happy Friday!